PHOTOGRAPHY PHRIDAY, EP 5: SUBJECT, PART 2. Focal Point and Depth of Field as it relates to Subject.9/17/2021 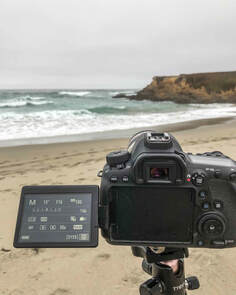 The concept of subject isn't a simple as it sounds. The concept of subject isn't a simple as it sounds.
We talked last week about subject. Subject is what you are photographing. It’s what you want the viewer to see. Everything else in the image supports the subject. It could be the tiniest insect, a child, a bride, or the Grand Canyon.
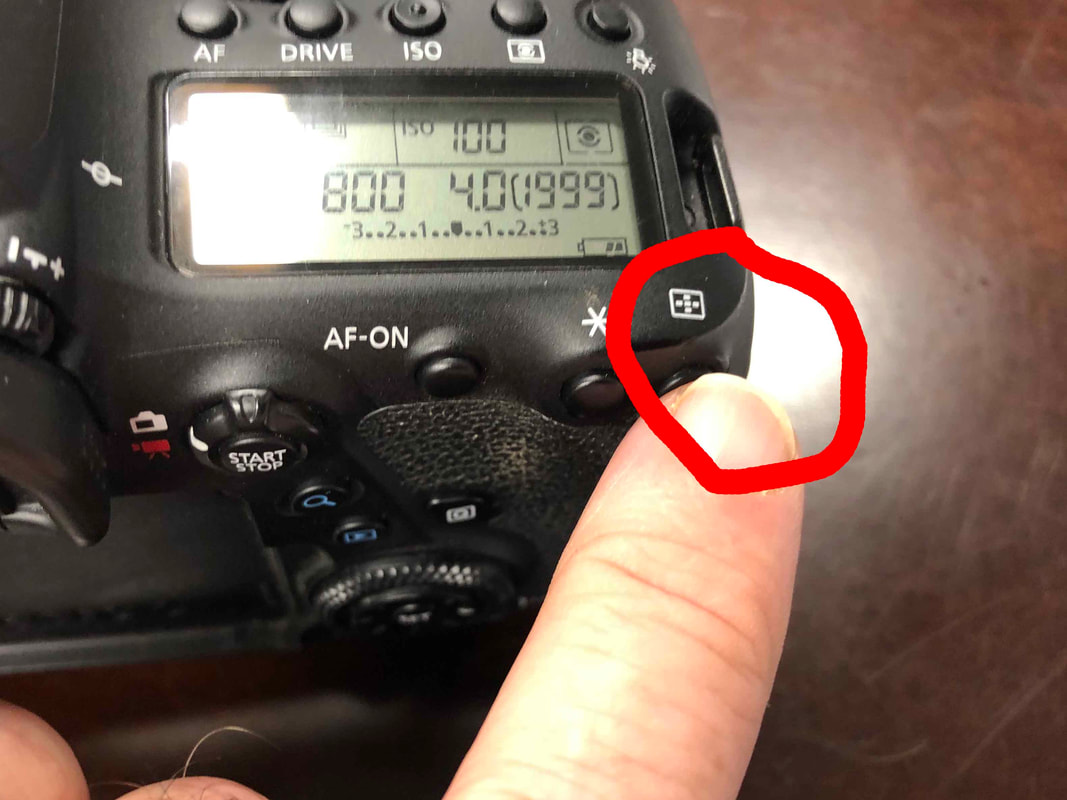
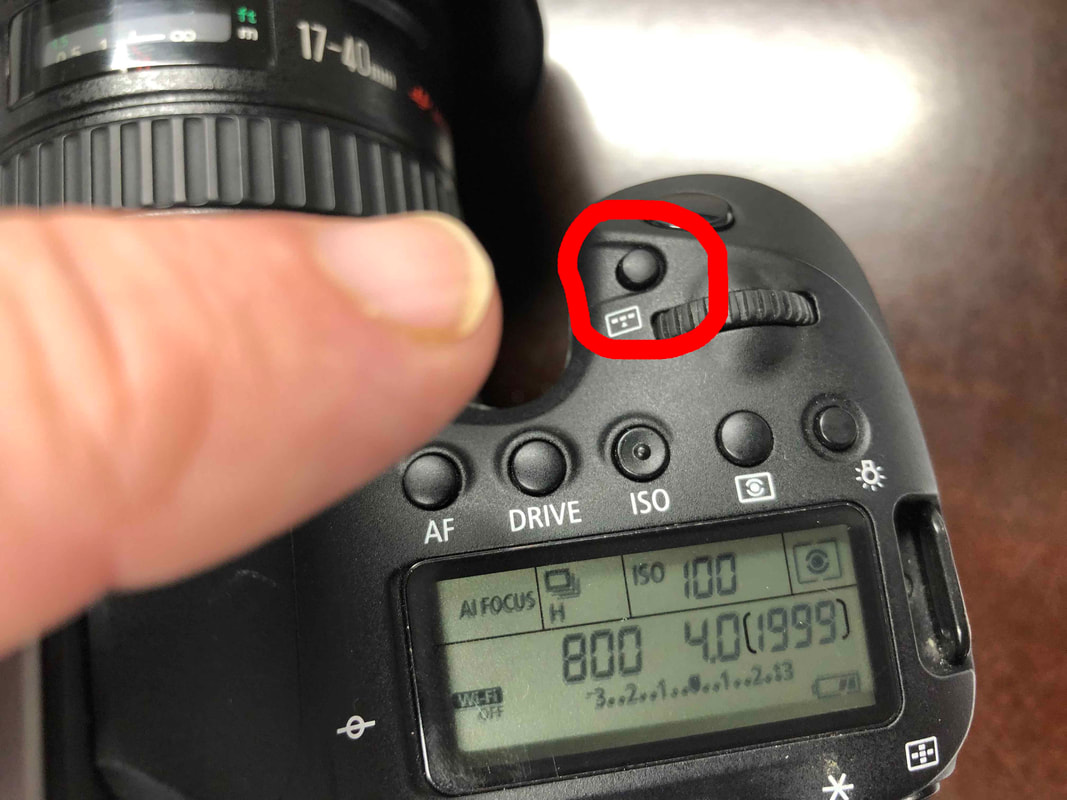
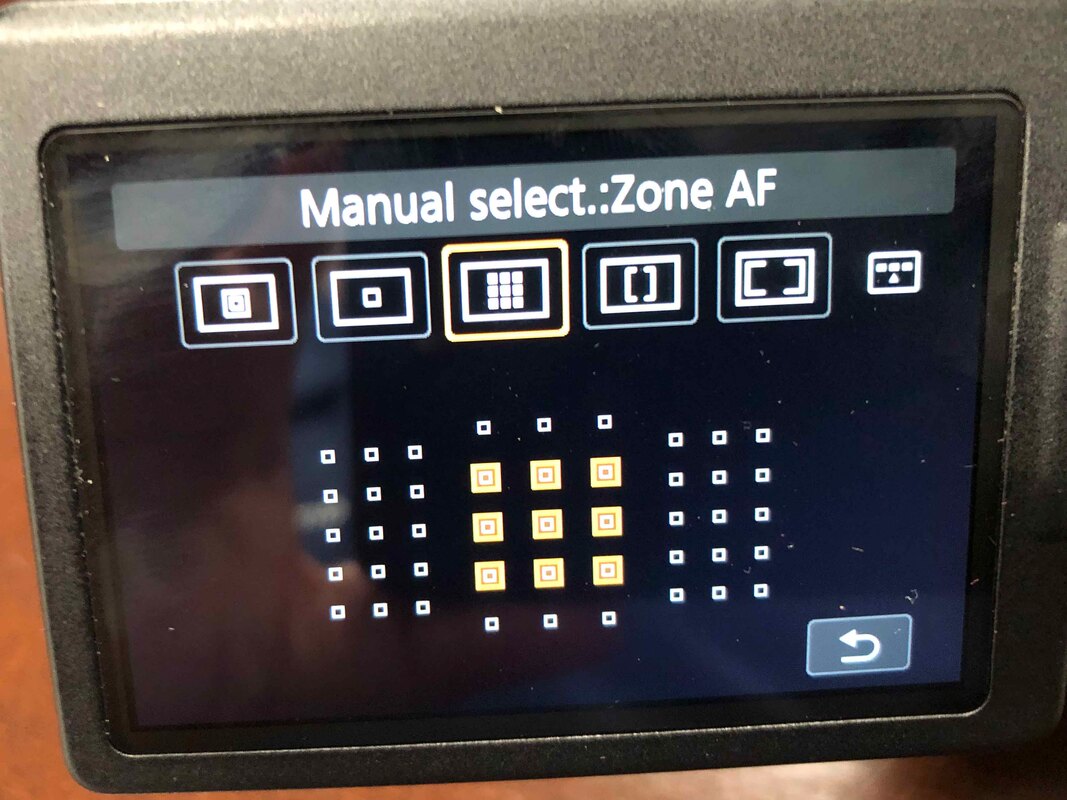
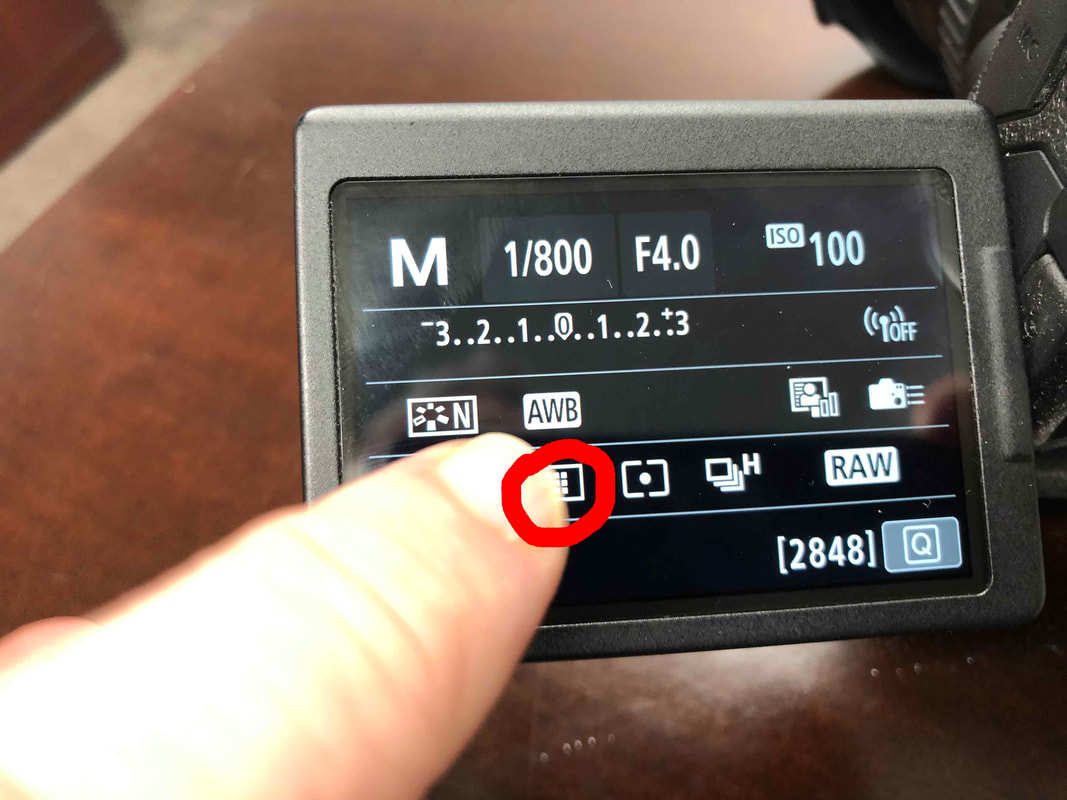
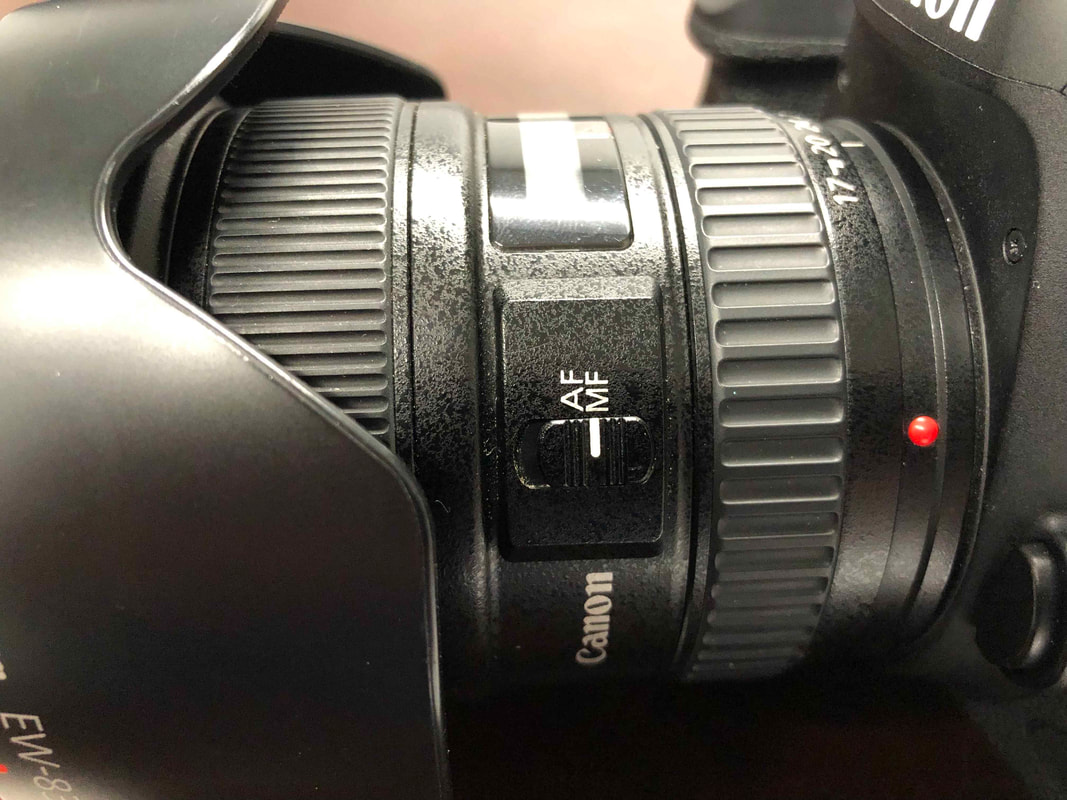
Here’s the first question you should ask: “What is my subject?” On the surface, it seems like an easy question to answer: it’s a person or defined object. I recommend tweaking that question to “Where do I want my viewers eye drawn?” Your subject might have a subject! Is it the model’s stunning eyes? Is it your child’s beautiful smile? Is it a lone tree out on a prairie? Is it one person in a crowd or the crowd itself? Is it the tree or the beam of light shining through the branches. The subject’s subject is where you place your focal point. There is a relationship between focal point, depth of field and your subject. That relationship will determine your first camera settings: focal point and aperture. Focal point is that box, boxes or dots that blink around the area when you point your phone camera, or the boxes that blink when you press your shutter button on your DSLR or mirrorless. If you’re shooting on a phone, or in auto, the software will determine your focal point. This can be good and bad. Good it you have to get the shot quickly, bad if the device picks a spot you don’t want. I highly recommend taking control of focal point. Don’t let your camera pick it for you! If you have a DSLR, there will be a button somewhere on your camera or as a part of your control screen that allows you to take control of you autofocus point. Controlling the focal point is the first step in mastering your camera and getting the image you want. Cameras come with more than one focal point and it doesn’t have to be in the middle of the image The more advanced the camera, the more auto focus points it has. Press the focal point button on your camera (the image I show is on my Canon) and start playing with adjusting its size and placement. It will differ from camera to camera. There are plenty of videos on Youtube that can teach you this depending on your model. If you really want to get creative, turn off the autofocus entirely and use the manual focus ring on your lens.
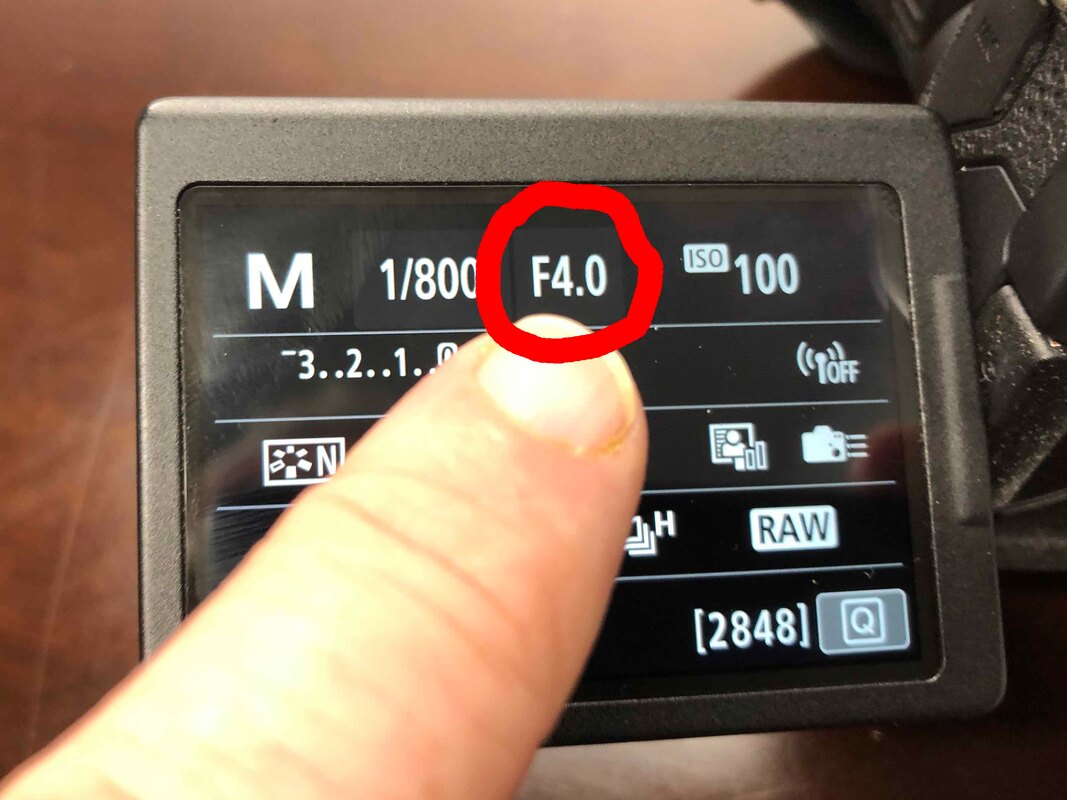
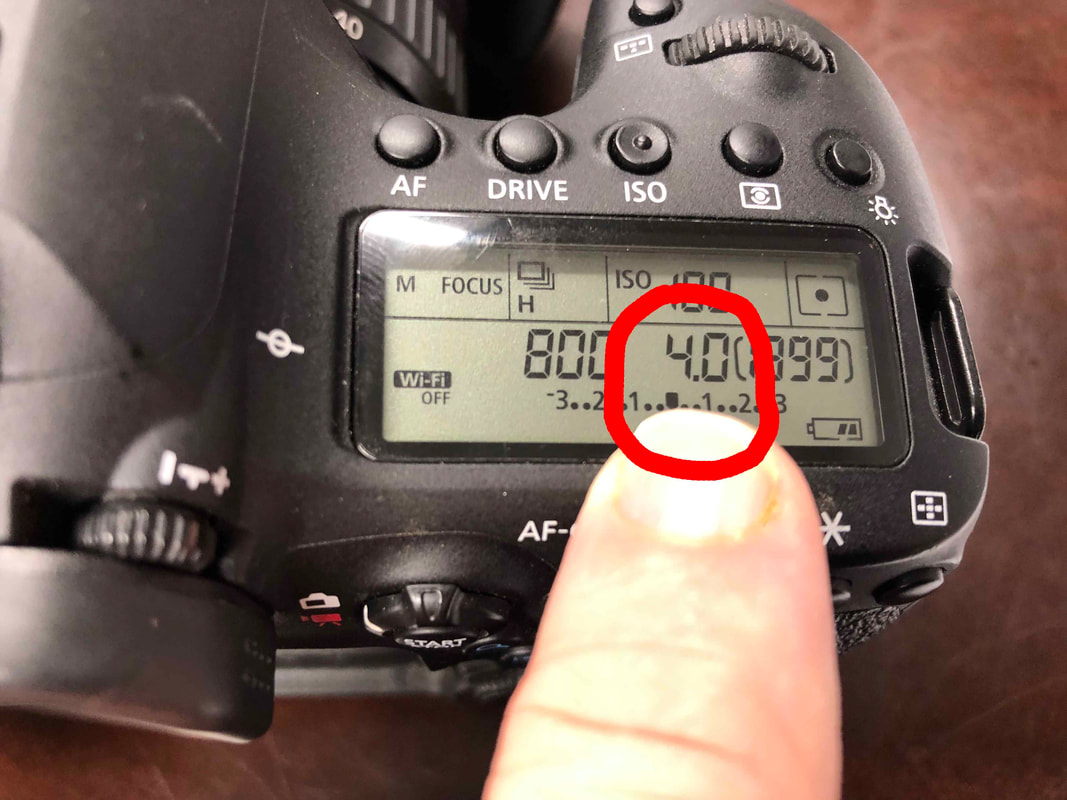
Aperture is depth of field, or how much of the image is in focus. This is measures by the “fX.X” number on your lens. There are lots of factors regarding aperture, and we won’t get into all of them today. The lower the f number, the blurrier everything gets outside your focal point. The higher the number, more of the image is in focus. It’s more complicated than this, but this gives you the basics. Here’s the important part: If you are shooting below about f7.0 you better know exactly where your focus point is, or your subject may be blurry.
Here are some examples of focal point and aperture in my own photography. This landscape is a wide angle shot (18mm) with a wide depth of field (I seem to remember about f7.0). The focal point & subject are the barns, but I wanted a great deal of the field is in focus, too.

This photo has a narrow depth of field (f1.8) and a tighter focal range (50mm). This called for a precise focal point on the flower's stamens (my subject's subject), and letting everything else blur into shadow and color.

The rule of thumb I use is the more shallow the depth of field the smaller you want your focal point, such as using only one point or block. If you are doing broad, sweeping landscapes at deep depth of fields you want a broad focal point. The auto focus points don’t have to be in the middle, either, but we’ll talk more about that when we get to composition another day.
If you want close up and intimate, then you want wider apertures, like f4.0 or lower. This will concentrate the viewer on one spot and let the rest of the universe melt away. If I have a zoom lens and I’m using it at high, tight focal lengths, I usually also want to use lower apertures. So to recap, a good rule of thumb is the tighter, closer and more intimate the shot, the smaller your focal point. This allows you to focus exactly on what you want. The wide, broader and larger the subject, the bigger the focal point. These are guidelines, not rules. So to recap: 1) Control your focal point. 2) If your depth of field is shallow, use a more precise autofocus point. 3) If you are zoomed in, use a smaller focal point, too. 4) Loosen up the focal point as you zoom out and as you depth of field increases. These are the first steps to ensure your subject is what the viewer’s eye is drawn to. Next time, we’ll discuss subject as it fits into composition. Next time we talk, we’ll start bringing composition into the mix. Thanks for stopping by! *** If you enjoyed this blog, please like the post and leave a comment. Also visit my Facebook, my fine art photography and check out my photography book from America Through Time, "Abandoned Wiregrass: The Deepest South's Lost and Forgotten Places." #photography #subject #photographytips #tutorial #photographytutorial #howto #photographylessons
0 Comments
Your comment will be posted after it is approved.
Leave a Reply. |
Archives
July 2023
Categories
All
|

 RSS Feed